Install the QuickBooks Desktop connector
Guide for SMB users to install our QuickBooks Desktop on-premise connector.
Your customer needs to be running a supported version of QuickBooks Desktop Pro, Enterprise or Professional. QuickBooks for Mac is not supported.
Check operating system requirementsThe connector works on Windows 10, Windows 11, and Windows Server 2019, and may not work correctly on earlier versions of Windows. Your customer will need administrator permissions on your computer to complete the installation.
Consider antivirus and firewallThe user's local antivirus or firewall settings may prevent the download and running of the connector. To resolve, you need to allowlist the connector.
To install the QuickBooks Desktop connector, the user who is connecting their company data must complete the following tasks:
The QuickBooks Desktop connector must be run on the same computer as the QuickBooks Desktop application. Advise your client to install the connector on the computer they normally use when working with QuickBooks Desktop.
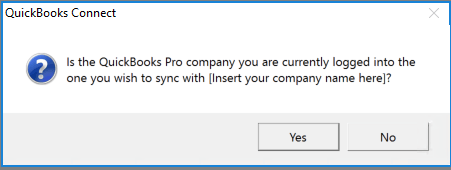
Before they start the linking process, the user must open QuickBooks Desktop and log in to the company they want to link.
If the user works with a hosted instance of QuickBooks Desktop (e.g. Right Networks), they must first be approved by Right Networks before proceeding. Please review our prerequisites documentation.
1. Download the connector
First, the user downloads the connector from a Codat Link URL.
The QuickBooks Desktop connector is packaged as a .exe file. To increase your client's trust in the download, the filename is prefixed with your company name (the name of the company the user is connecting their data to). For example: YourCompanyName-quickbooksDesktop-connector.exe. Symbols in the filename are replaced with dashes.
Additionally, the file is signed with an Extended Validation Code Signing Digital Certificate issued by GlobalSign.
If you're using the Codat Link flow, the user can download the connector after they've selected QuickBooks Desktop as their accounting software.
If you've built your own Link flow, the linkUrl field on the company's QuickBooks data connection will initiate the installer download.
Administrator privileges (admin rights) are required to run the connector. When you add a new company, a user with admin rights needs to run the installer, which will display the following dialog:
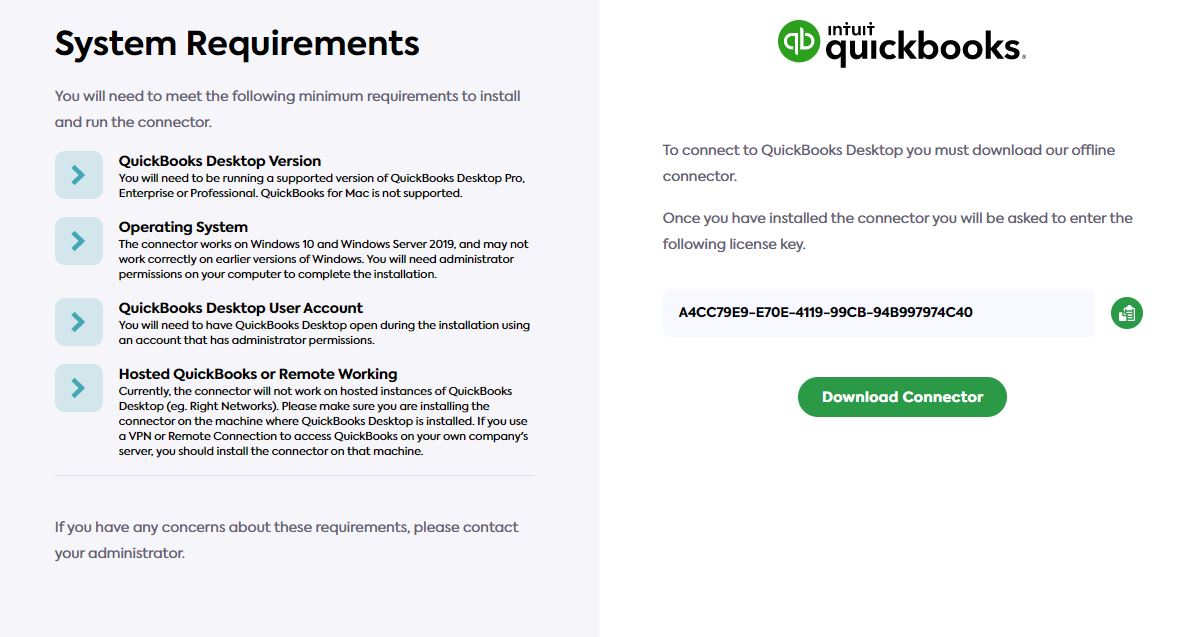
The user copies their license key (the same as their CompanyId in Codat) to use in the next step.
If the SMB user isn't a Windows administrator on their own system, a different administrator must approve the installation and run Quickbooks Desktop using the Run as Administrator option, both during the initial link and when adding companies to an existing connector. When installed in this way, the connector is only able to sync data while Quickbooks Desktop is closed.
2. Launch the connector and enter the licence key
Next, the user runs the downloaded file to start the connector. They're prompted to enter their licence key, which is the same as their CompanyId in Codat.
The licence key is only shown to the customer automatically if you're using the Codat Link flow rather than building your own Link flow.
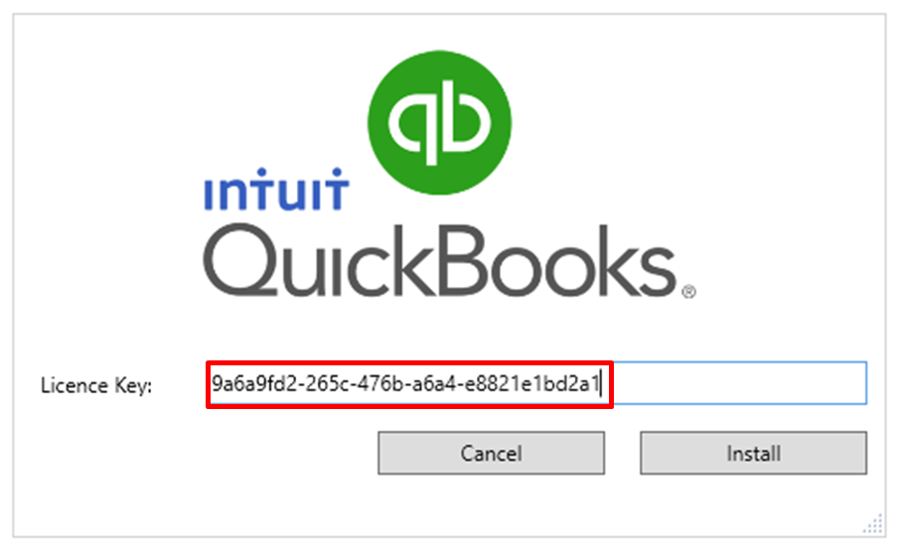
They should paste the licence key copied in the previous task into the Licence Key box, and then click Install.
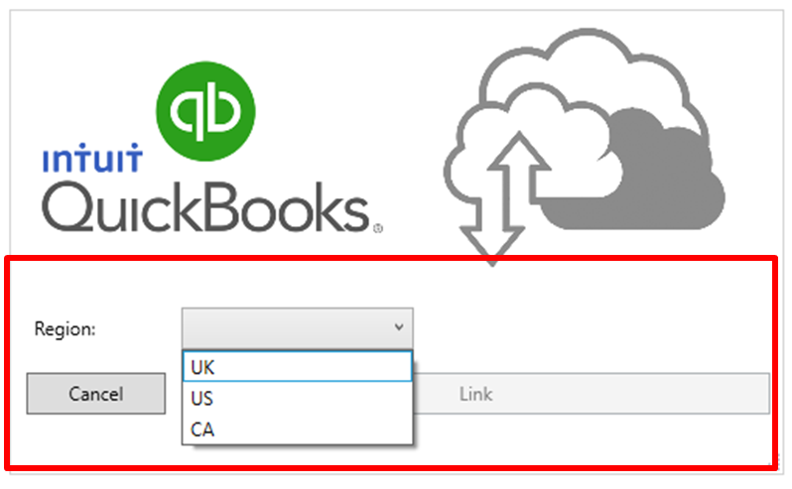
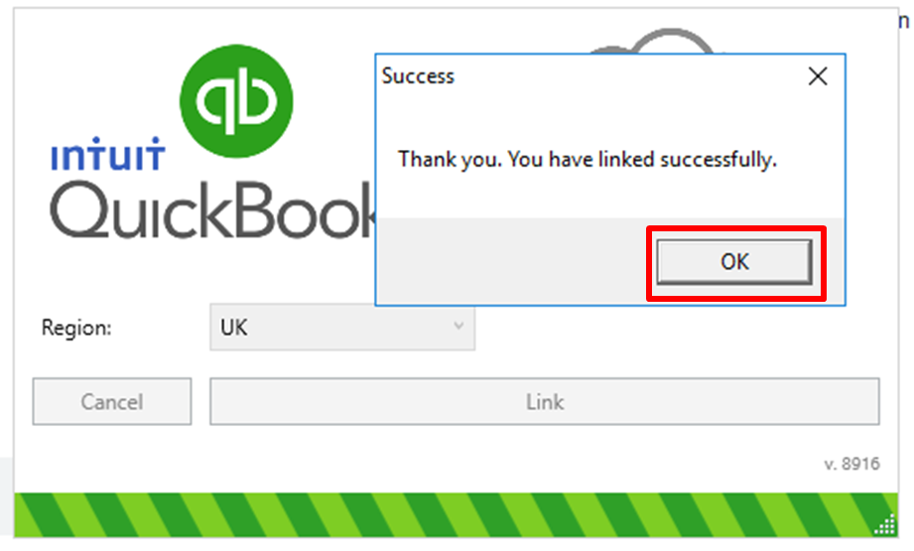
3. Verify files, select a region and initiate link
Next, the user needs to verify their data and selects their geographical region – either Canada, UK, or US – and then clicks Link with [company name].
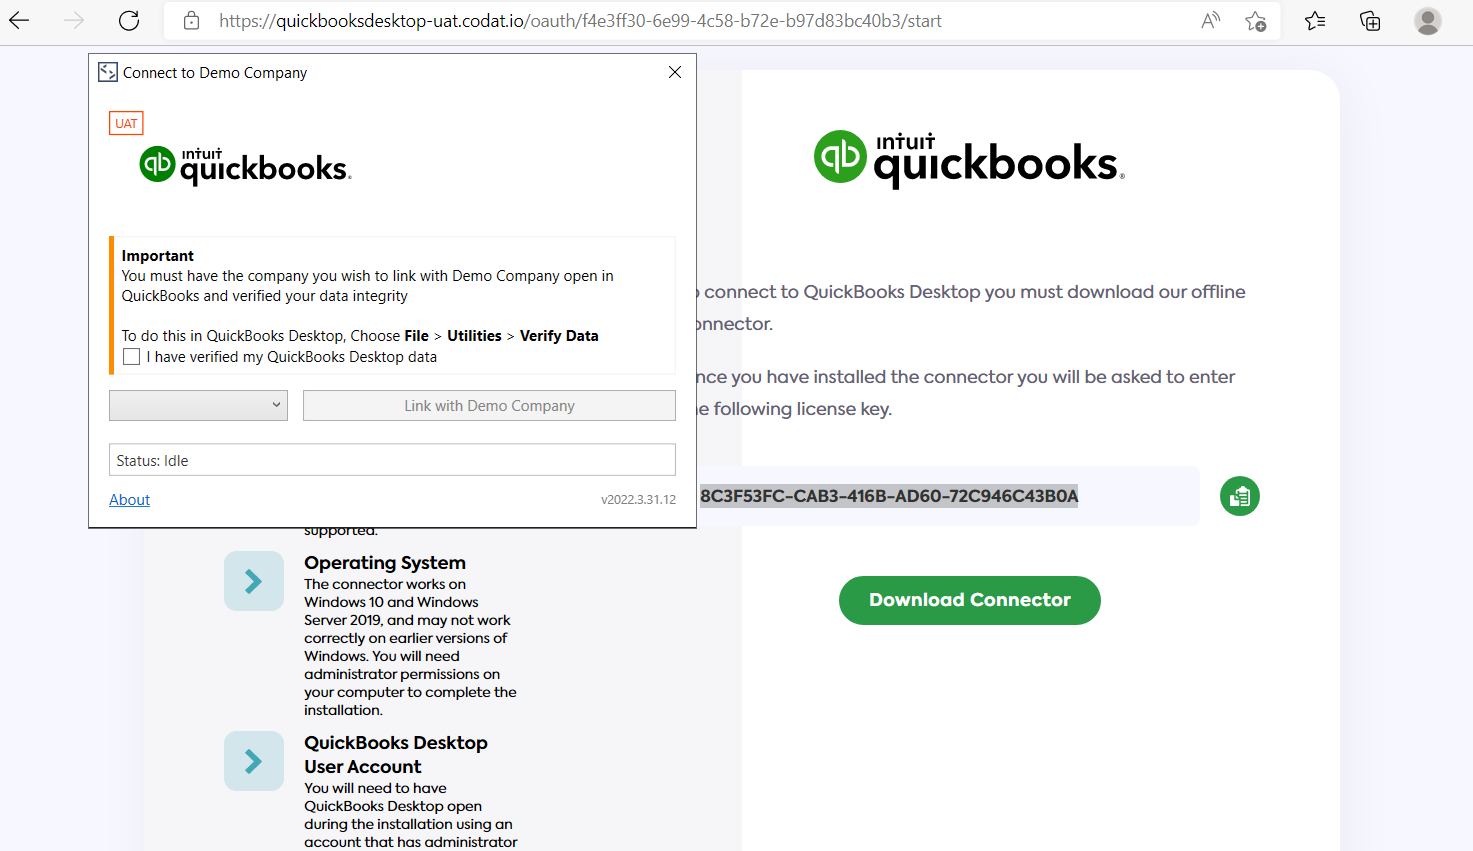
The connector initiates the connection with QuickBooks Desktop and the user is prompted to grant access.
An error is displayed if Quickbooks Desktop is not open, or multiple instances of Quickbook Desktop are running on the same machine.
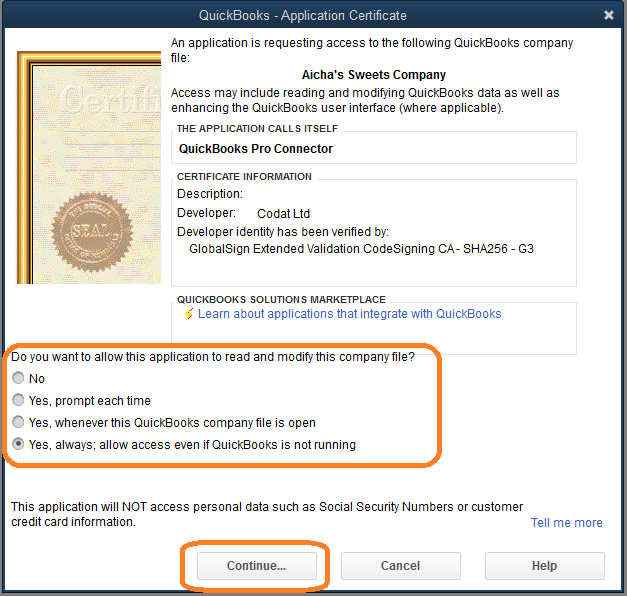
4. Authorize the connector to access QuickBooks
In QuickBooks Desktop, the user is prompted to allow the application to read and modify the QuickBooks company file. Any of the Yes options will allow the connector to work. However, for the best user experience, we recommend choosing Yes, always to allow access even if QuickBooks Desktop is not running.
Options might vary between QuickBooks versions but are similar to:
- No
- Yes, prompt each time
- Yes, whenever this QuickBooks company file is open
- Yes, always; allow access even if QuickBooks is not running.
In all cases, we recommend choosing the option that allows the most access to QuickBooks so that you can sync data as easily as possible.
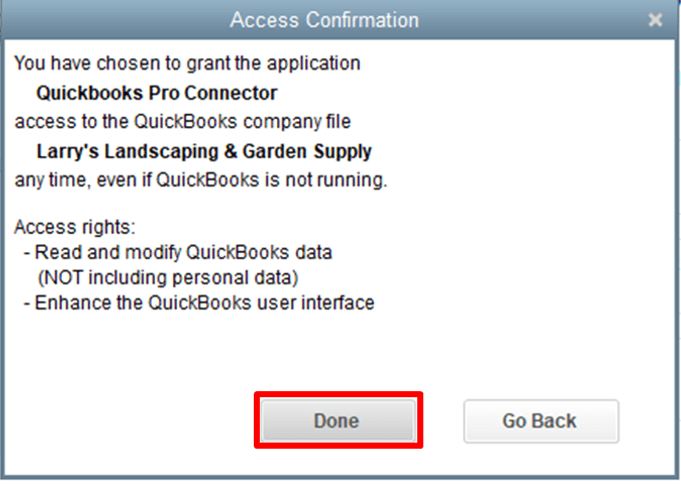
Check the details in the Access Confirmation dialog, and then click Done.
5. Wait for the connector to complete first link
Once access to QuickBooks has been granted, the connector will process the datasets you have chosen to fetch on first link (see Data Sync Settings). Upon completion of the first link, a message will be shown to the user confirming that their data has been synchronized.
If you have chosen to have your connectors perform a one-time synchronization, the connector will uninstall itself and set the company status to deauthorised.
If you have chosen to install your connectors for ongoing synchronizations, the connector will periodically process any dataset syncs or write operations you have queued using the Codat portal or API. The connector will also be set to automatically start when the system reboots.
Installation path
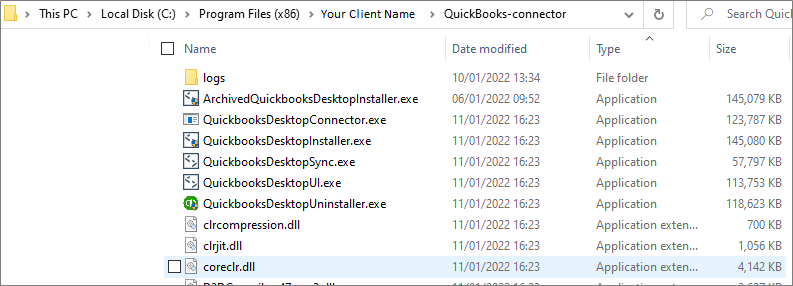
The QuickBooks Desktop connector is installed in Program Files inside a directory named with your client name in Codat.
C:\\Program Files (x86)\\<Client Name>\\QuickBooks-connector
For example:
Uninstalling
If your user wants to remove the QuickBooks Desktop connector and disconnect the service, there are two ways they achieve this on their computer.
System Tray
The connector can be deleted from the system tray by selecting the up arrow on the Windows taskbar this will reveal any hidden icons, and the user will be able to select the connector if they use the secondary mouse button (left click) a pop up with dialog will appear. From this menu, the user would be able to click on Uninstall QuickBooks Connector, this launches a pop up where the user can confirm they wish to uninstall the connector.
System Settings
The other way users can uninstall the connector is to go to Windows Settings > Apps & features from the menu and then search for the connector in the filter form
The QuickBooks Connector will then show as a result in the list, and the user can select Uninstall to remove the connector.
Removing the App Certificate
Once the user has removed the Connector, they may still want to remove the application certificate. To do this they should open QuickBooks and go to:
Edit > Preferences > Integrated Applications > Company Preferences
You will then need to select the application named 'QuickBooks Connector' and click Remove.