FreshBooks
Learn about our FreshBooks integration.
You can synchronize accounting data with FreshBooks using our FreshBooks integration.
Supported versions
FreshBooks Classic organizations are not supported. FreshBooks Classic is a legacy version of FreshBooks and uses a different APIAPI A set of rules and protocols that allows different software applications to communicate with each other. Codat provides APIs for accessing financial data from accounting, banking, and commerce platforms..
Set up the integration
Before you can access data from your customers who use FreshBooks for their accounting, you need to set up the FreshBooks integration.
You'll need to:
- Create a FreshBooks application.
- Add the application's secure keys to the Codat Portal.
Create a FreshBooks application
Create and configure an application in the FreshBooks Developer Portal.
-
Log in to freshbooks.com.
If you don't already have an account, you can create one by clicking Try it Free.
-
On the Dashboard, click the cog icon and then select Developer Portal.
The Apps page in the Developer Portal is displayed.
-
Click Create New App.
-
Enter the following information into the boxes on the Create Application page:
-
Application Name: Enter a name for your application. This is displayed to your users when they authorize your access to their accounting data, so choose a name that clearly identifies your organization.
-
Application Type: Select Private App.
-
Scopes: Add the required read and write scopes listed in FreshBooks application scopes.
-
Redirect URIs: Enter
https://freshbooks.codat.io/oauth/callbackthen click the check mark icon to save the URI.
-
-
Click Save to create your app.
-
Select your new app from the All Apps list. Locate the app's Client ID and Client Secret at the bottom of the page.
FreshBooks application scopes
The following table lists the recommended scopes to set for your FreshBooks application. If the scopes you require change in future, all connected companies will need to reauthenticate with your app.
The table outlines the minimum scopes needed to allow read access to the FreshBooks objects that are supported by Codat. If you want to create, update or delete data in FreshBooks, you need to select the corresponding write scopes for the relevant objects.
| user:profile:read, user:bills:read, user:bill_payments:read, user:business:read, user:bill_vendors:read, user:clients:read user:credit_notes:read | user:estimates:read, user:expenses:read, user:journal_entries:read, user:online_payments:read, user:payments:read, user:projects:read, user:retainers:read | user:taxes:read, user:billable_items:read, user:invoices:read, user:other_income:read, user:reports:read, user:teams:read |
Add your app's secure keys to the Codat Portal
-
In the Codat Portal, go to the Accounting integrations page.
-
Locate FreshBooks and click Set up.
-
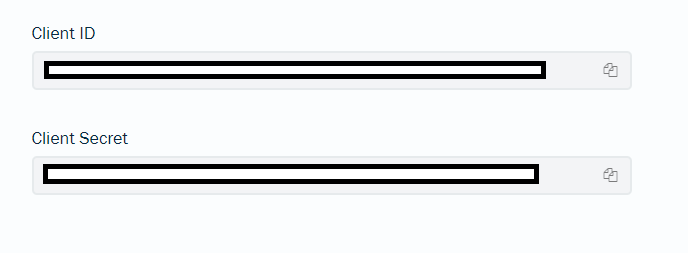
Under Integration settings, enter the values for the Client ID and Client secret from your app in the FreshBooks Developer Portal.
-
Click Save. A confirmation message appears if the settings were saved successfully.
-
The Enable FreshBooks dialog is displayed. Select whether to enable the integration now or later.
Make sure that your secure keys don't contain any spaces.
Enable the FreshBooks integration
- In the Codat Portal, go to the Accounting integrations page.
- Locate FreshBooks and click the toggle to enable the integration.
You can also click Manage to view the integration's settings page, and then enable the integration from there.