Run the app locally
Learn how to set up the QuickBooks integration, configure Codat, and run the bill pay demo app on your local machine
🚀 In this section, you will...
- Set up Codat's QuickBooks Online integration
- Configure LinkLink The authorization flow that allows end users to connect their accounting, banking, or commerce platforms to your application via Codat. to use the demo app's redirect URL
- Install the demo app and run it on your local machine
- Review the write history in the Codat Portal
Prerequisites
Before running the demo app locally:
- In the Codat Portal, enable Fetch on first linkLink The authorization flow that allows end users to connect their accounting, banking, or commerce platforms to your application via Codat. for Bills, Bill payments, and Companies on the Data type settings page. These data types will be automatically read when a companyCompany In Codat, a company represents your customer's business entity. Companies can have multiple connections to different data sources. is linked for the first time.
- Make sure that
npmversion16.9.0minimum is installed on your machine. - Set up the QuickBooks Online Sandbox integration in the Codat Portal.
Set up the QBO integration
Start by setting up the QuickBooks Online Sandbox integration. For a detailed guide, see Set up the QuickBooks Online integration.
We've chosen QuickBooks Online for this demo guide because it provides easy access to sandbox data through a free trial account. You can use the demo app with a different integration that supports writing Bill payments, such as Codat sandbox, if you prefer.
-
Sign up or sign in to the Intuit Developer Portal.
-
Create a QuickBooks Online app.
-
Go to the app's Development Settings.
-
In the Redirect URIs section, configure your new app with the redirect URI for the QuickBooks Online Sandbox integration:
https://quickbooksonlinesandbox.codat.io/oauth2/callback
-
Sign in to the Codat Portal.
-
On the navigation bar, go to Settings > Integrations > Accounting to view the Accounting integrations page.
-
Click Manage next to the QuickBooks Online Sandbox integration.
-
Enter your app's development keys in the Client ID and Client secret fields.
-
Click Save.
-
Enable the integration.
Configure redirect URLs
Next, set the redirect URL defined in the demo app as the Codat Redirect URL. This URL redirects you to the ConnectionConnection A link between a Codat company and a data source (like an accounting platform). Each connection represents authorized access to pull or push data from that platform. Successful screen after you've connected the app to an accounting software in the Hosted Link flow.
-
Sign in to the Codat Portal.
-
On the navigation bar, go to Settings > Redirects to view the Redirects page.
-
Enter the following redirect URL in the URL field:
https://localhost:3000/connection-successful
Run the demo app locally
-
Clone the demo app repository to your local machine:
git clone https://github.com/codatio/demo-bill-pay.git -
On the command line, install the project dependencies:
npm install -
Copy the
.env.examplefile in the root directory and rename it to.env. -
Edit the contents of the
.envfile as follows:CODAT_AUTH_HEADER="<YOUR_AUTH_HEADER>"Replace
<YOUR_AUTH_HEADER>with your authorization header from the Codat Portal. To find your auth header, go to Developers > APIAPI A set of rules and protocols that allows different software applications to communicate with each other. Codat provides APIs for accessing financial data from accounting, banking, and commerce platforms. keys, then copy your authorization header from the relevant column. -
Run the app:
npm run dev -
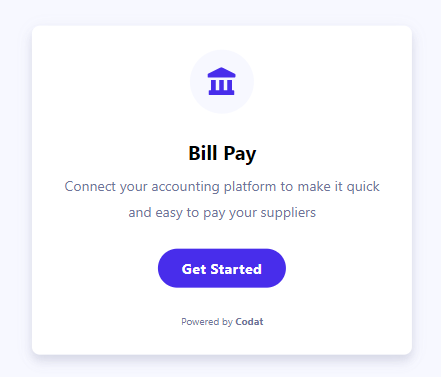
When the app is running, open https://localhost:3000 in your browser. You'll see the Bill Pay start screen:
-
Click Get Started and follow the on-screen instructions.
You can now create a companyCompany In Codat, a company represents your customer's business entity. Companies can have multiple connections to different data sources., connect to your sandbox QuickBooks Online companyCompany In Codat, a company represents your customer's business entity. Companies can have multiple connections to different data sources., and view and pay bills.
Review write history
After paying a bill, you can check that the Bill payments you wrote are reflected in the Codat Portal.
- On the navigation bar, select Companies.
- Select the companyCompany In Codat, a company represents your customer's business entity. Companies can have multiple connections to different data sources. you connected via the demo app.
- Select Data history > Write history.
- Review the write history. Look for the recent
billPaymentswrite operation and check that it completed successfully.
Recap
You've set up the QuickBooks Online Sandbox integration and configured LinkLink The authorization flow that allows end users to connect their accounting, banking, or commerce platforms to your application via Codat. with the demo app's redirect URL. You ran the demo app locally and completed the authorization flow.
Read next
Explore the app's functionality in more depth: